Showing posts with label DIY. Show all posts
Baby Boy Quilt
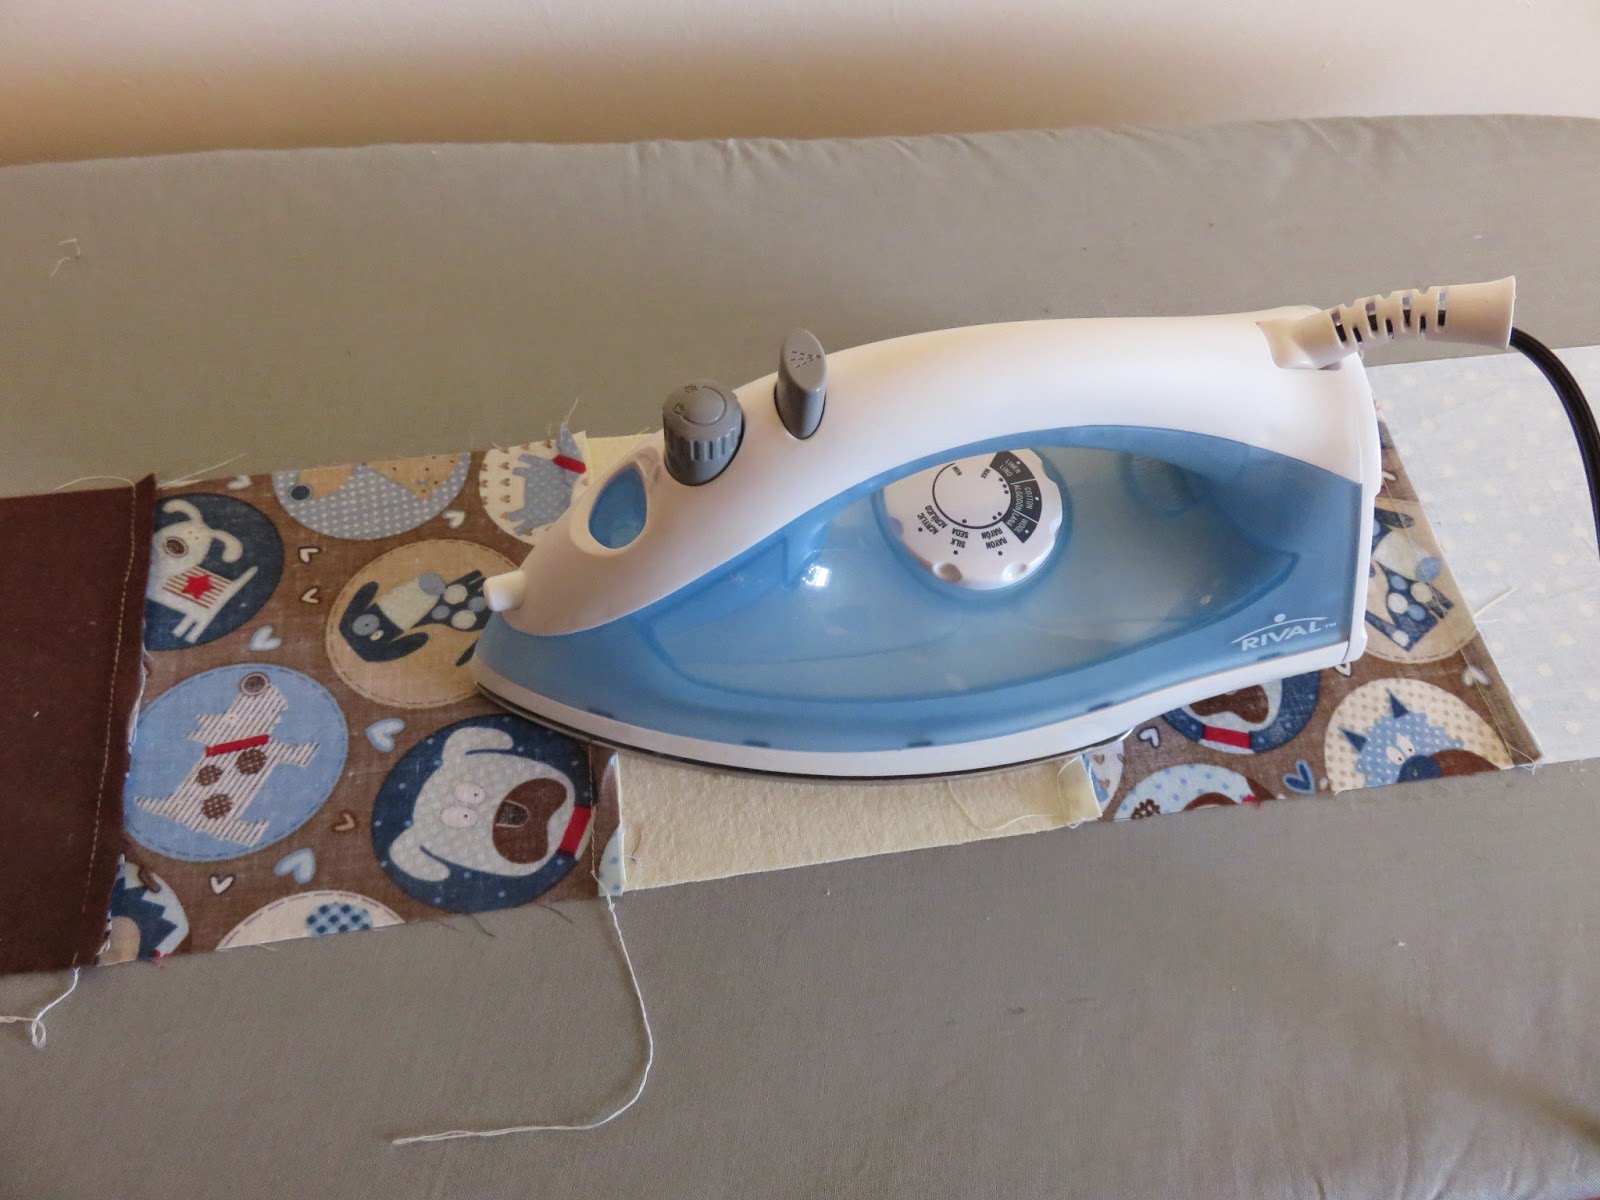
Next, I started getting the binding ready. I cut 4 pieces, slightly longer than each side of the quilt. Then I sewed a long and short piece together to create a corner. Remember those protractors you used in math class? Well, this is where you can use them in real life!
This one is for the newest baby boy in my circle of friends. And I've already started a baby girl quilt, but so far no one is having a baby girl; wishful thinking...
Posted by
Ruth
Labels:
baby,
baby quilt,
batting,
binding,
blanket,
block quilt,
DIY,
puppy,
quilt,
sewing,
sewing corners
Bibs
Martha recommends printing out the bib pattern at 150%, which requires extra large printer paper, or taping the two pages together after printing on normal size paper. After printing at that size, I thought the bib looked more the size that my boyfriend's 18 month old nephew would wear. So, I printed another pattern to fit on one 8.5"x11" page - that was more 'baby' sized.
Naturally, most newborns are not going to need a bib, but the littleness of a tiny baby bib is just completely adorable! My sister was able to use the tiny bibs, but they didn't cover a lot of the baby's clothing. Unless you're expecting a very drool-y baby (my boyfriend's nephew was and still is at almost 3!), you will probably want to make a more practical bib for when he/she starts eating baby food. I recommend enlarging the pattern to at least 125%.
For this tutorial, I'm showing the pattern printed at 150% - about 15" x 10" - which sews down about an inch, as you can see in the photos.
For most of the bibs that I made, I used flannel on one side and terry cloth on the other. I thought that this would not only make them soft and absorbent, but also after the baby is done eating, Mom could wet the towel side to wash baby's face and hands.
Once you have your two pieces cut out, pin them together inside-out and stitch along the edge. Be sure to leave an open spot to turn the bib right-side-out again.
For this bib, I used binding around the collar and extra to tie; so, I stitched all the way around the bib, except for the neck area.
Then I turned it right-side-out and pinned on the binding. (That's the trickiest part! Pinning the binding and then sewing an even stitch around the neck.)
Choose whether you want the bib to tie or Velcro to fasten the back; I did some of each. Martha Stewart uses metal snaps, but I did not want to try my patience with those!
If you are following my pictorial, you'll want to make sure to also sew along the binding string for the tie, to prevent fraying.
And the bib is complete!
Aren't they just so fun and cute?
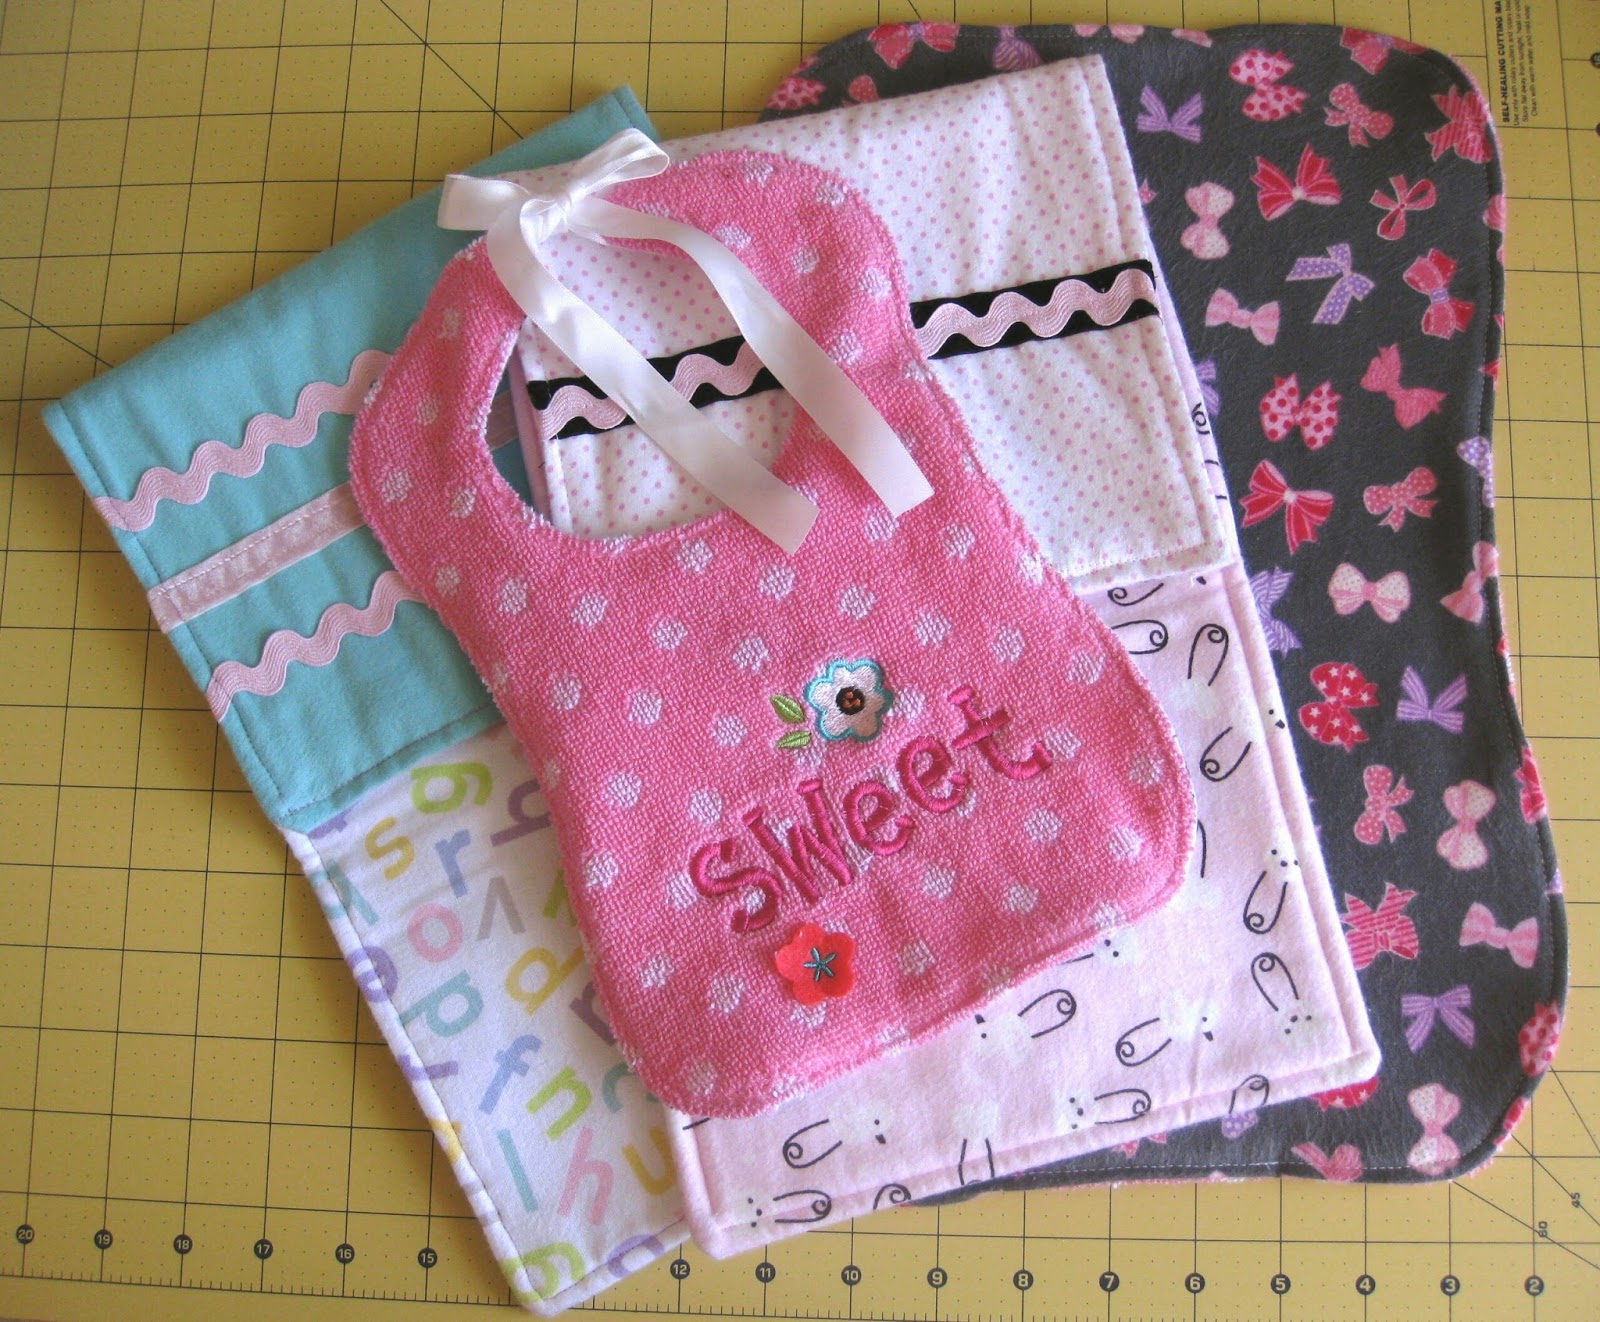
Here are a couple other bibs that I added a few extra things to:
Make a tie to sew on the bib. Or create appliqués using iron-on transfer paper.After sewing several bibs using the binding like this, I made one a bit differently - and it's a little easier if you don't want to deal with binding...
For the bib above, once I had the two pieces cut, I took two pieces of ribbon and pinned the ends to each side of the collar. You want to make sure the ribbon is between the two pieces of fabric, then start pinning the pieces together like I show for the other bib (still, with the fabric inside out).This time, instead of sewing around the edge and leaving the neck open, leave about two inches of the bottom of the bib open. Once sewn, turn the bib right-side-out and the ribbon should be sewn into the bib for the tie.
For the other side of this bib, I used a hand towel that I bought on clearance after Valentine's Day. Isn't it too cute?!
Now I like to iron the bib, folding the unsewn section fabrics into the bib. Then place a couple pins through the unsewn section on the bottom, and finish the bib by sewing along the entire edge. (This is very much the same process as my burp cloths.)
Unfortunately, I didn't think to take pictures during this bib. However, if you'd like more pictures to show these steps, please let me know and I will take more pictures with the next bib I make; just leave me a comment!
As you can see, there are so many different ways to make this baby bib! Are you ready to make one?
Burp Cloths
Let's make some burp cloths!
When my sister was pregnant two years later, I decided to sew a whole bunch for her.
At first, we thought she was having a girl, but a second ultrasound showed that I would definitely be getting a nephew. I had been overly anxious to start making things and had already sewn a few precious pink burp cloths with little bows and frills. So, I went out again, found some fun baby boy prints, and started sewing more.
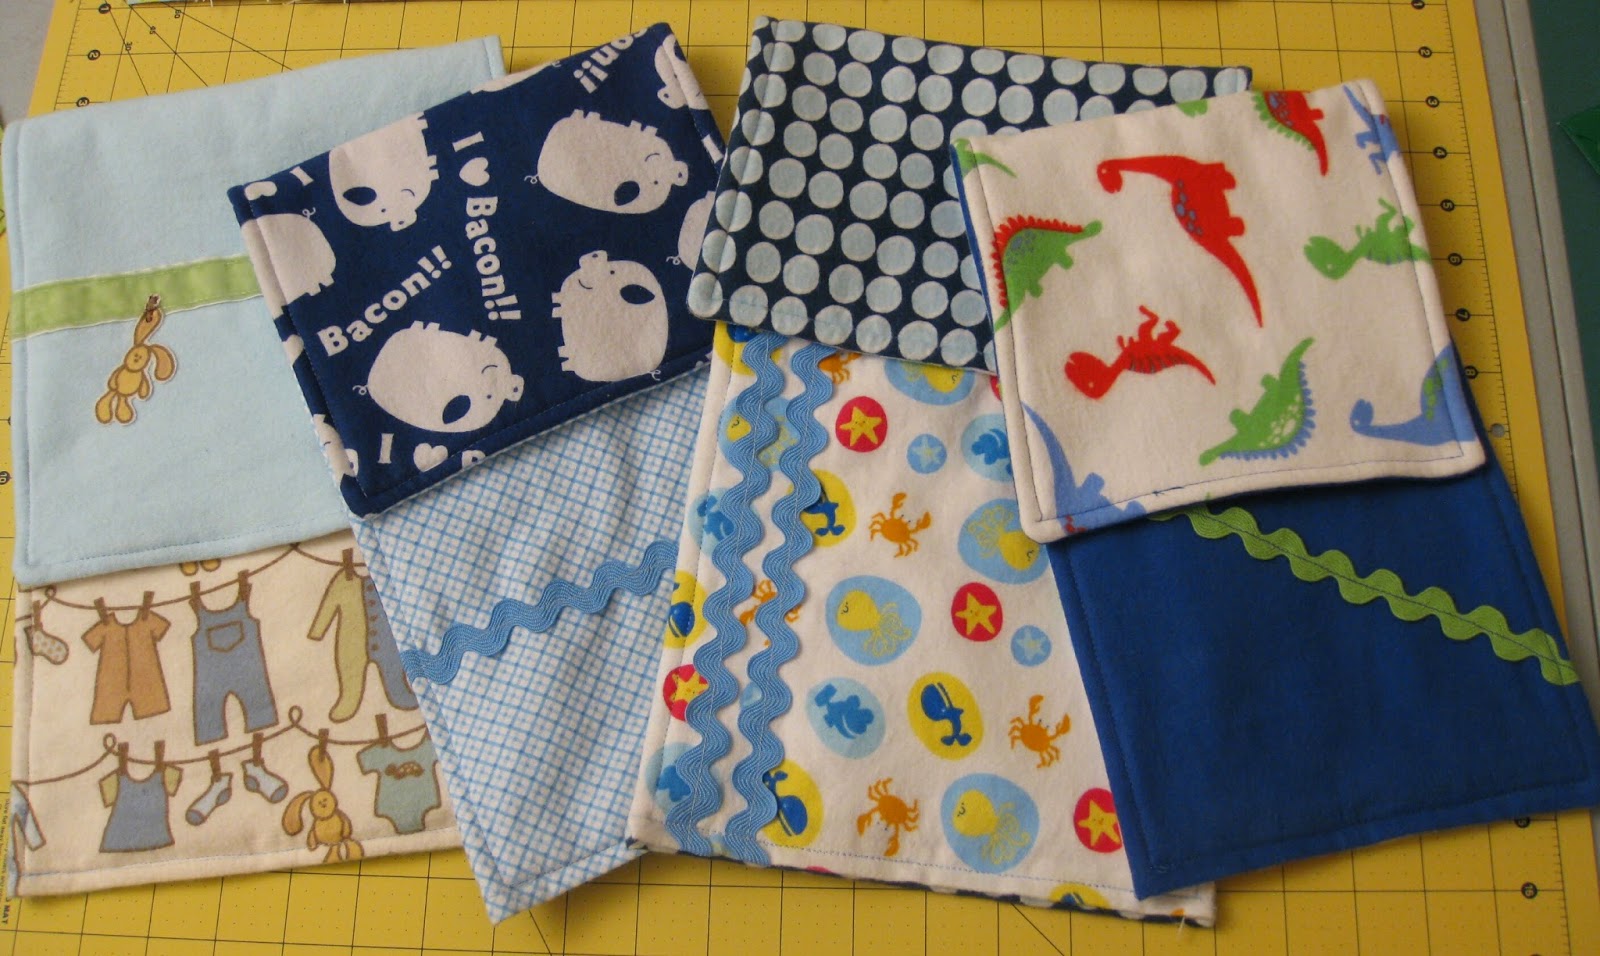
The nice thing about rectangle burp cloths is that they can be easily cut at different lengths and widths without changing the 'pattern' to fit the size of the fabric. I think most of the straight burp cloths I've made range within an inch or two of 18x10 inches. I've also cut out a peanut shaped pattern that is 18x9.5 inches (at it's widest point).
For my burps cloths, I use flannel on the outside with a layer of batting in the middle. I read on several other blogs that adding the batting makes the cloths more absorbant.
After I gave my sister her burp cloths, she decided to make some for her friends that were pregnant. She told me that she didn't use the batting, but, after the fact, wished she had.
Even wthout the batting, they will still catch spit-up and wipe up messes.
I've also made some cloths without the batting - using flannel on one side and terrycloth or microfiber on the other.
Don't forget to pre-wash and dry any material you decide to use - batting, especially, shrinks a bit. Pre-washing will also let out the darker dyes in the material, so that it doesn't end up bleeding onto the other material. (I didn't do this for a dark blue material paired with white and my sister had to use a lot of stain remover to get it white again. Oops!)
I like to pair a bright, busy print with a simple print or solid flannel. Then brighten up the 'plain' side with ribbon, ric-rac, appliqués, or a strip of the alternating fabric. One of my favorite things about making burp cloths is the adaptability of them. Try making different sizes, shapes, no ribbon or lots. Once you feel comfortable, you'll be ready to pair your handmade burp cloth with a matching, handmade, little baby bib!
Stuffed Octopus
I made this adorable octopus for my nephew!
In June of 2013, I became an Aunt for the first time. When my sister first gave me the news I was a thrilled; I couldn't wait to spoil my nephew with anything he could want or need!
The more craft ideas I found or thought of, the more excited I got and the bigger my sister's baby shower gift became. Luckily for me, she had two showers that I could split all my gifts between.
For the second shower, all of my gifts were "under the sea" themed, to match the nursery set she had picked out. You can find other things I made throughout my blog pages, but this stuffed octopus was the one I was most excited about!
Once she had picked out her theme and showed me pictures of it, I got the idea in my head to make a stuffed octopus. I wasn't exactly sure how I would make it, but I had extra flannel with blue circles on it that I thought
The length of the tentacle, as you can see in the photo, is about 7-8 inches; and a little over an inch wide. I made three differnt types of tentacles and alternated them on the body, but there are a lot of other designs with all the same style tentacle that look great too.
Finding a corresponding 'top' fabric was something of a miracle - I literally looked at every bolt of fabric at JoAnn's to match the color. I found this velvet-like, deep blue material, burried in the clearance shelves, and it was exactly what I wanted!
To create the tentacles, I layed the two fabrics down (backsides together) pinned the drawn out tentacle on top, and cut out both fabrics at the same time. Then I re-pinned the pieces (right-sides together) and very slowly sewed them together. Turning them right-side out took a bit of patience, but a pencil was the perfect tool! -And again to push the stuffing in.
After each tentacle was stuffed, I pinned it to the circle I had cut out for the underside of the octopus. I waited to sew them on all at once so that they would be evenly spaced.
Then I used a zig-zag stitch to re-inforce them. (I thought they'd probably get a lot of tugging.)
For the head/body, I cut out two arches and sewed them together to make a dome shape. This part took a little re-doing to get it to match the circumference of the tentacle circle and to be proportional.The more craft ideas I found or thought of, the more excited I got and the bigger my sister's baby shower gift became. Luckily for me, she had two showers that I could split all my gifts between.
For the second shower, all of my gifts were "under the sea" themed, to match the nursery set she had picked out. You can find other things I made throughout my blog pages, but this stuffed octopus was the one I was most excited about!
Once she had picked out her theme and showed me pictures of it, I got the idea in my head to make a stuffed octopus. I wasn't exactly sure how I would make it, but I had extra flannel with blue circles on it that I thought
would be perfect for the underside of the tentacles.
I did a lot of visualizing in my head and attempting to draw it out; and searched the internet for ideas. Ultimately, I drew my own pattern and it worked out really well!The length of the tentacle, as you can see in the photo, is about 7-8 inches; and a little over an inch wide. I made three differnt types of tentacles and alternated them on the body, but there are a lot of other designs with all the same style tentacle that look great too.
Finding a corresponding 'top' fabric was something of a miracle - I literally looked at every bolt of fabric at JoAnn's to match the color. I found this velvet-like, deep blue material, burried in the clearance shelves, and it was exactly what I wanted!
To create the tentacles, I layed the two fabrics down (backsides together) pinned the drawn out tentacle on top, and cut out both fabrics at the same time. Then I re-pinned the pieces (right-sides together) and very slowly sewed them together. Turning them right-side out took a bit of patience, but a pencil was the perfect tool! -And again to push the stuffing in.
After each tentacle was stuffed, I pinned it to the circle I had cut out for the underside of the octopus. I waited to sew them on all at once so that they would be evenly spaced.
Then I used a zig-zag stitch to re-inforce them. (I thought they'd probably get a lot of tugging.)
And we can't forget to add some eyes, before sewing him shut! I used iron-on transfer paper and this tutorial for the whites of the eyes. For the inside of the eye, I used some extra black felt I had, since that won't fray.
Now I had to try to stuff all but one tentacle inside the head and sew the pieces together inside out; leaving just a couple inches to pull the tentacles back through.
Once I had the octopus right side out, he was ready to be stuffed and sewed shut.
I did my best at hand-sewing a blind stitch, so that the octopus would look uniform all the way around. And I have to say, I can't see the stitches!
And here he is all finished!
I definitely impressed myself with how well this turned out and I think my nephew likes it too! :)
Receiving Blankets
If you're looking to make something for a new little one, these receiving blankets are possibly the easiest place to start.
I bought a yard of each type of flannel that I wanted to use; you may choose more or less depending on what size you want your blankets. I looked up different size recommendations and it seems that most parents like the wraps to be between 36 and 42 square inches.
Once I pre-washed and dried the fabric, I cut it into a square: fold at a corner, bringing the shorter edge along the longer side, then trim the excess. (Unless you have a very large table to work on, it will be easiest to lay this out on the floor to cut.)
I started ironing the hem and corners using this fabulous and easy tutorial. (Rather than the 1/2" hem she shows, I only did a 1/4".) Then I pinned everything and used a straight stitch to sew it all down.
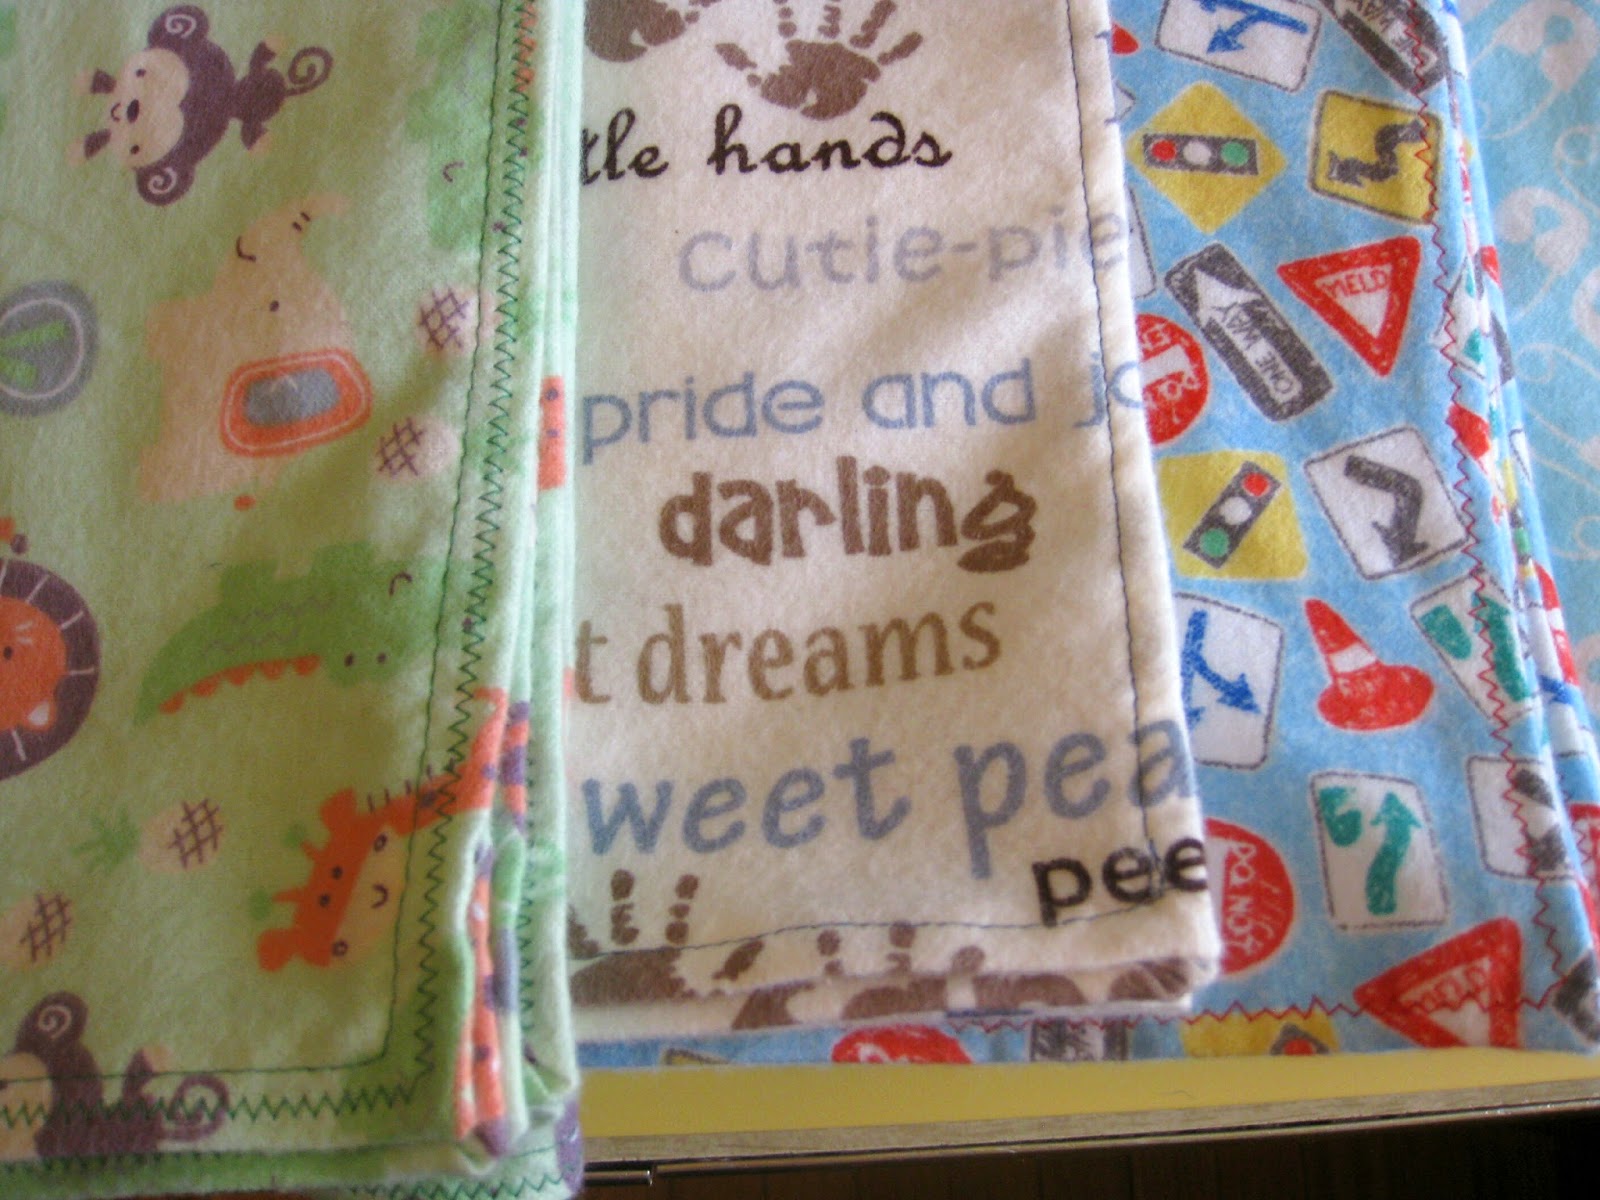
I wanted to play with some of the settings I don't normally use on my sewing machine, so I also sewed a zig-zag stitch on some.
I think the extra
stitching
is a fun addition
to these blankets!
And that's it; it's that easy! Once you've finished your stitching, you're all ready to welcome that baby, wrap him or her up, and cuddle away!
Subscribe to:
Posts (Atom)