Baby Boy Quilt

This is my first go at an actual quilt. I figured starting out small would be an easier introduction to quilting. I have made a couple other baby blankets that you can find here; this, however, is my first attempt with blocks, quilt batting, machine quilting, and binding all together in one project.


I'm the "just wing it" type of crafter - I don't do a lot of pre-research or studying, I like to just figure it out as I go. Naturally, this can create big problems and possibly make the project longer, but I like to say, "You learn the most by making mistakes." So, I started this quilt without much knowledge other than looking at pictures of quilts. I have worked a little with batting and binding on my burp cloths and bibs. I thought it couldn't be too hard to sew a bunch of squares together and then stitch over multiple layers of fabric.


I sorted through my stash of fabrics, to pick out a few that matched the adorable puppy print and started cutting out blocks. I used a mix of cotton fabric and flannels; which, I think, gives the blanket a good mix of textures - perfect for babies who like to touch.


I cut out several blocks, using a 5.5" square. Then I laid them out on my floor and started playing with a design.


With 42 blocks, I had a good sized blanket:     6 squares across and 7 down. I started sewing the blocks together to create strips.


Before I continued sewing, I ironed the backside of each strip so that the edges of the squares that had been sewn together lay flat. This would make it easier to sew the strips together.


Once I had all the squares sewn together, the front of the quilt was ready. But I didn't have enough of a fabric that I liked for the back of the quilt. I went out and found a pretty navy / off-white chevron flannel that I purchased with some navy satin binding.

After I pre-washed and dried the chevron flannel, I cut it to match the size of the block-front of the quilt. I also cut the batting to size and began pinning the layers together.

(The blanket is folded over in the picture so that you can see both prints and the layer of batting.)


Next, I started getting the binding ready. I cut 4 pieces, slightly longer than each side of the quilt. Then I sewed a long and short piece together to create a corner. Remember those protractors you used in math class? Well, this is where you can use them in real life!
Pin the two pieces together (inside out) and place the center dot of the protractor at the edge and centered. Mark at 45 degrees on each half - this will create a perfect 90 degree corner. Sew along the lines and turn it right-side-out. 

I did this for the opposite corner as well, so that I had two L-shapes. Then, I needed to stitch the layers of the quilt together to get the exact measurements to fit the binding onto, before sewing the other corners together.


I pinned the binding along the quilt edge and carefully measured each strip to cut off the excess; then repeated the steps for creating a perfect corner. The corner was just a little further away from the material than I wanted so I sewed it in a little tighter.


Once the corners were all stitched to fit and the binding was pinned in place, I sewed it on to complete the quilt.


Of course, I notice all the little mistakes and imperfections, but overall, I love how this baby quilt turned out!


This one is for the newest baby boy in my circle of friends. And I've already started a baby girl quilt, but so far no one is having a baby girl; wishful thinking...
The blanket's final measurements are 31 by 35.5 inches - perfect for a little baby bed.


Bibs

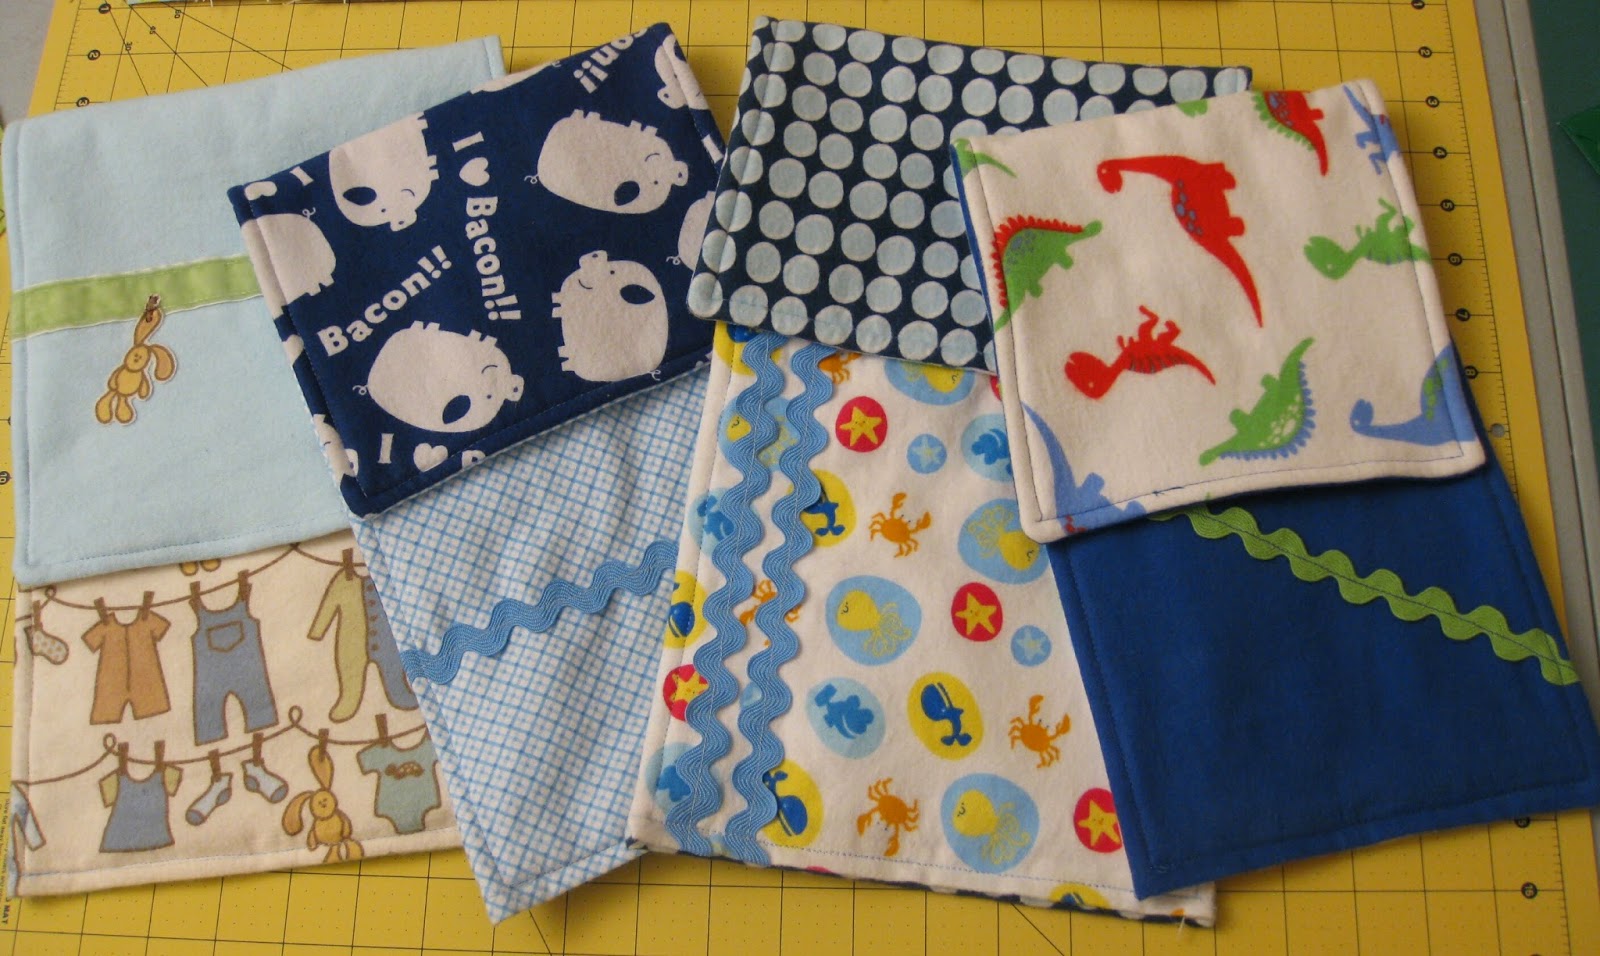
After I had sewn several burp cloths, I felt confident that I could handle a bib; so, I started searching the internet for patterns and ideas.
I fell in love with the look of this Martha Stewart Baby Bib. On her site, you'll find a list of materials needed, with the baby bib template and step-by-step directions. Using just her pattern, I decided to do a much simpler bib...
Martha recommends printing out the bib pattern at 150%, which requires extra large printer paper, or taping the two pages together after printing on normal size paper. After printing at that size, I thought the bib looked more the size that my boyfriend's 18 month old nephew would wear. So, I printed another pattern to fit on one 8.5"x11" page - that was more 'baby' sized.
Naturally, most newborns are not going to need a bib, but the littleness of a tiny baby bib is just completely adorable! My sister was able to use the tiny bibs, but they didn't cover a lot of the baby's clothing. Unless you're expecting a very drool-y baby (my boyfriend's nephew was and still is at almost 3!), you will probably want to make a more practical bib for when he/she starts eating baby food. I recommend enlarging the pattern to at least 125%.

For this tutorial, I'm showing the pattern printed at 150% - about 15" x 10" - which sews down about an inch, as you can see in the photos.
For most of the bibs that I made, I used flannel on one side and terry cloth on the other. I thought that this would not only make them soft and absorbent, but also after the baby is done eating, Mom could wet the towel side to wash baby's face and hands.
Once you have your two pieces cut out, pin them together inside-out and stitch along the edge. Be sure to leave an open spot to turn the bib right-side-out again.
For this bib, I used binding around the collar and extra to tie; so, I stitched all the way around the bib, except for the neck area.

   
Then I turned it right-side-out and pinned on the binding. (That's the trickiest part! Pinning the binding and then sewing an even stitch around the neck.)
Choose whether you want the bib to tie or Velcro to fasten the back; I did some of each. Martha Stewart uses metal snaps, but I did not want to try my patience with those!
If you are following my pictorial, you'll want to make sure to also sew along the binding string for the tie, to prevent fraying.

       And the bib is complete!

Aren't they just so fun and cute?


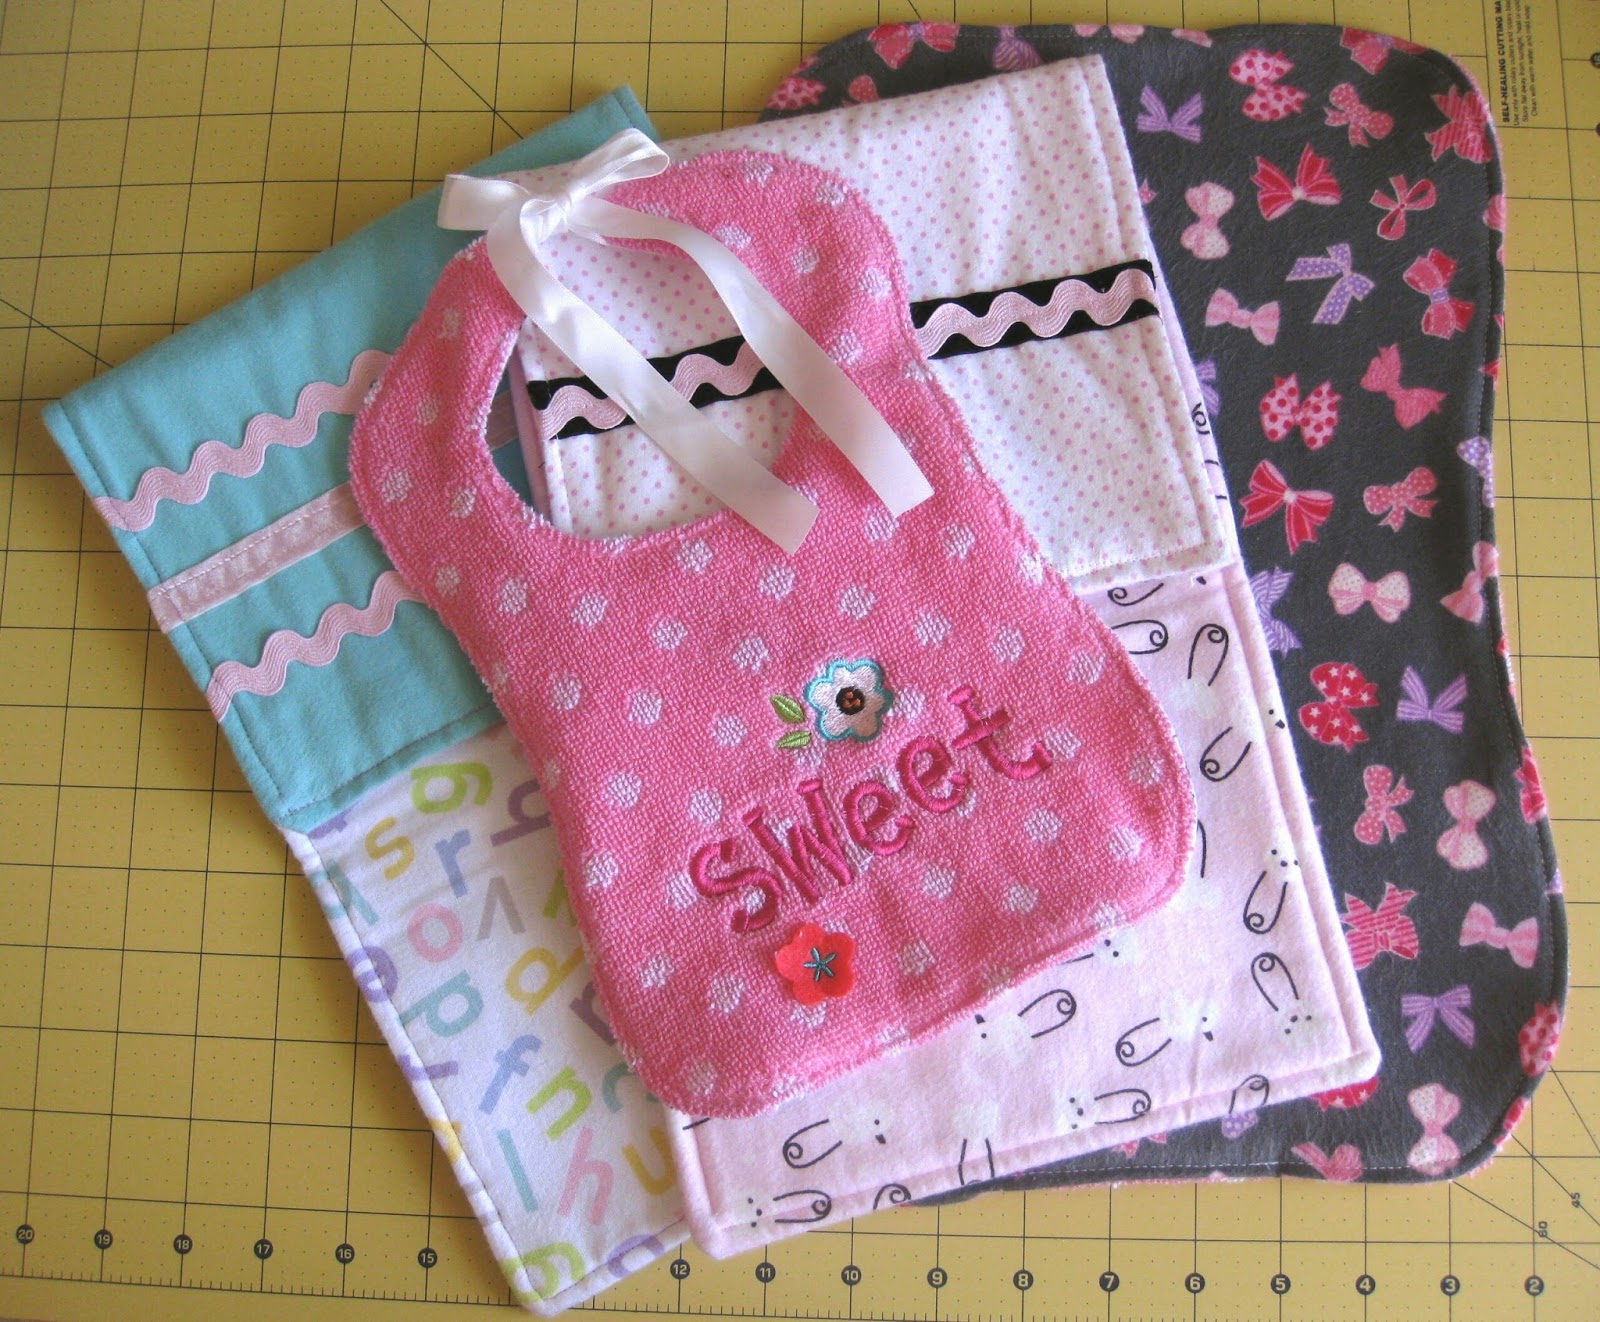
Here are a couple other bibs that I added a few extra things to:
                 Make a tie to sew on the bib.                      Or create appliqués using iron-on transfer paper.


After sewing several bibs using the binding like this, I made one a bit differently - and it's a little easier if you don't want to deal with binding...

For the bib above, once I had the two pieces cut, I took two pieces of ribbon and pinned the ends to each side of the collar. You want to make sure the ribbon is between the two pieces of fabric, then start pinning the pieces together like I show for the other bib (still, with the fabric inside out).
This  time, instead of sewing around the edge and leaving the neck open, leave about two inches of the bottom of the bib open. Once sewn, turn the bib right-side-out and the ribbon should be sewn into the bib for the tie.
For the  other side of this bib, I used a hand towel that I bought on clearance after Valentine's Day. Isn't it too cute?!
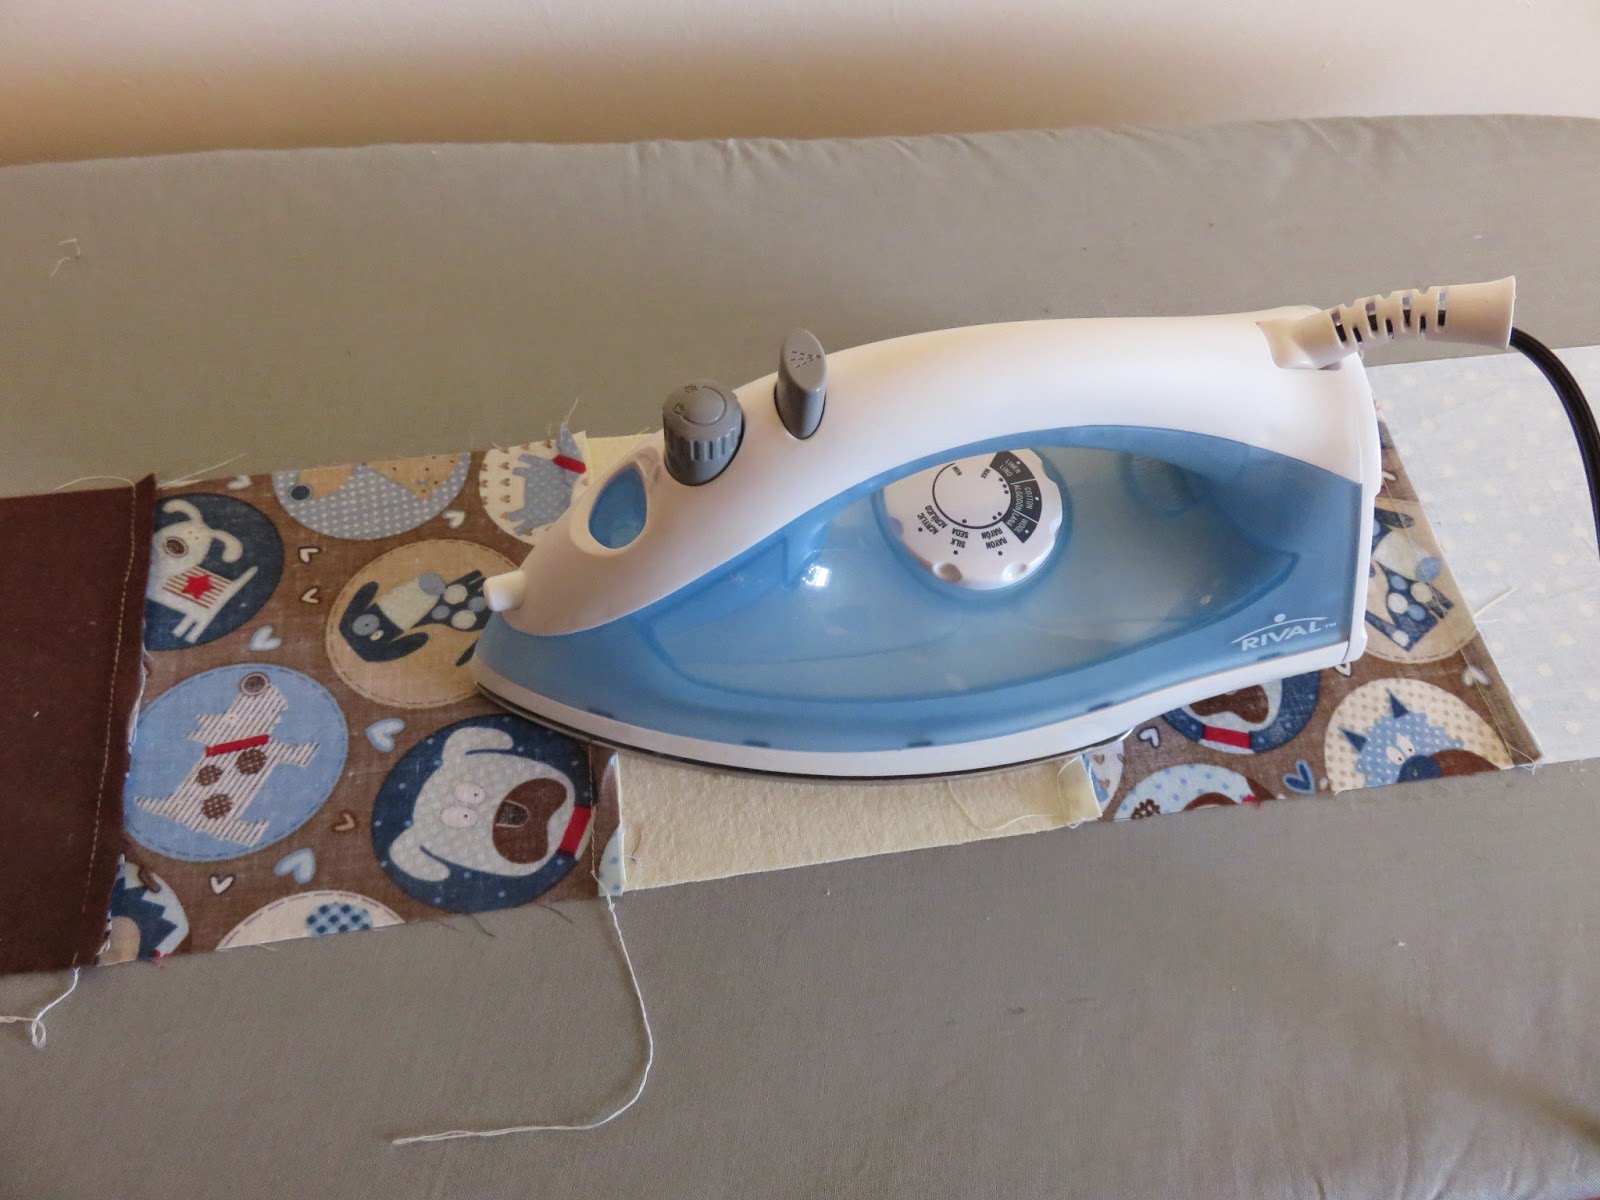
Now I like to iron the bib, folding the unsewn section fabrics into the bib. Then place a couple pins through the unsewn section on the bottom, and finish the bib by sewing along the entire edge. (This is very much the same process as my burp cloths.)

Unfortunately, I didn't  think to take pictures during this bib. However, if you'd like more pictures to show these steps, please let me know and I will take more pictures with the next bib I make;  just leave me a comment!

As you can see, there are so many different ways to make this baby bib! Are you ready to make one?

Burp Cloths

Let's make some burp cloths!

 
Burp cloths are another baby craft that are pretty simple to make - you can just make a rectangular one if you're just getting familiar with sewing; or you can try different shapes, adding ribbons, bows, and appliqués, if you  want a little more of a challenge - although even that isn't too difficult.
The first time I decided to make burp cloths was for my boyfriend's sister in 2011. I wanted to give her something that was useful, but still adorable. I picked out a print with monkeys (one of her favorite things) and a print of the classic Winnie the Pooh (the nursery theme she'd picked). She said that she felt bad using them because they were too cute!
When my sister was pregnant two years later, I decided to sew a whole bunch for her.
At first, we thought she was having a girl, but a second ultrasound showed that I would definitely be getting a nephew. I had been overly anxious to  start making things and had already sewn a few precious pink burp cloths with little bows and frills. So, I went out again, found some fun baby boy prints, and started sewing more.
The nice thing about rectangle burp cloths is that they can be easily cut at different lengths and widths without changing the 'pattern' to fit the size of the fabric. I think most of the straight burp cloths I've made range within an inch or two of 18x10 inches. I've also cut out a peanut shaped pattern that is 18x9.5 inches (at it's widest point).
For my burps cloths, I use flannel on the outside with a layer of batting in the middle. I read on several other blogs that adding the batting makes the cloths more absorbant.
After I gave my sister her burp cloths, she decided to make some for her friends that were pregnant. She told me that she didn't use the batting, but, after the fact, wished she had.
Even wthout the batting, they will still catch spit-up and wipe up messes.
I've also made some cloths without the batting - using flannel on one side and terrycloth or microfiber on the other.
 
Don't forget to pre-wash and dry any material you decide to use - batting, especially, shrinks a bit. Pre-washing will also let out the darker dyes in the material, so that it doesn't end up bleeding onto the other material. (I didn't do this for a dark blue material paired with white and my sister had to use a lot of stain remover to get it white again. Oops!)
I like to pair a bright, busy print with a simple print or solid flannel. Then brighten up the 'plain' side with ribbon, ric-rac, appliqués, or a strip of the alternating fabric. One of my favorite things about making burp cloths is the adaptability of them. Try making different sizes, shapes, no ribbon or lots. Once you feel comfortable, you'll be ready to pair your handmade burp cloth with a matching, handmade, little baby bib!