This is my first go at an actual quilt. I figured starting out small would be an easier introduction to quilting. I have made a couple other baby blankets that you can find here; this, however, is my first attempt with blocks, quilt batting, machine quilting, and binding all together in one project.

I'm the "just wing it" type of crafter - I don't do a lot of pre-research or studying, I like to just figure it out as I go. Naturally, this can create big problems and possibly make the project longer, but I like to say, "You learn the most by making mistakes." So, I started this quilt without much knowledge other than looking at pictures of quilts. I have worked a little with batting and binding on my burp cloths and bibs. I thought it couldn't be too hard to sew a bunch of squares together and then stitch over multiple layers of fabric.
I sorted through my stash of fabrics, to pick out a few that matched the adorable puppy print and started cutting out blocks. I used a mix of cotton fabric and flannels; which, I think, gives the blanket a good mix of textures - perfect for babies who like to touch.

I cut out several blocks, using a 5.5" square. Then I laid them out on my floor and started playing with a design.

With 42 blocks, I had a good sized blanket: 6 squares across and 7 down. I started sewing the blocks together to create strips.
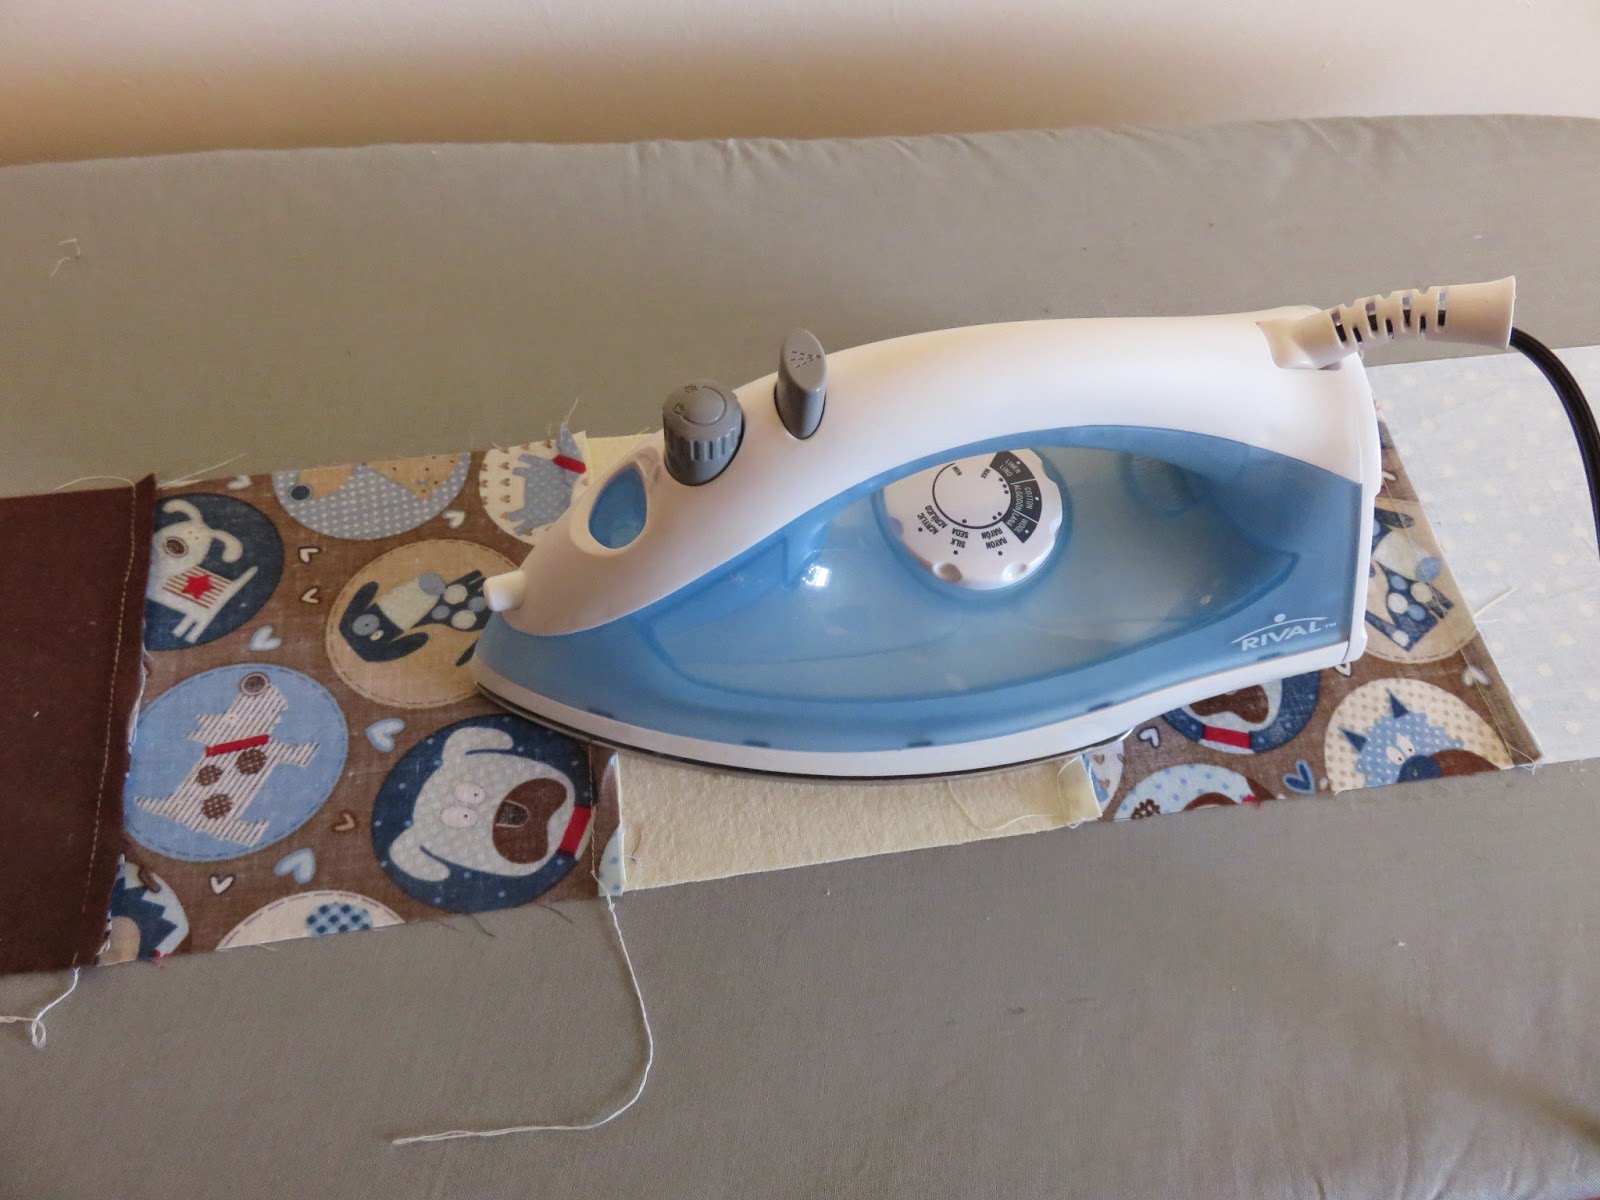
Before I continued sewing, I ironed the backside of each strip so that the edges of the squares that had been sewn together lay flat. This would make it easier to sew the strips together.

Once I had all the squares sewn together, the front of the quilt was ready. But I didn't have enough of a fabric that I liked for the back of the quilt. I went out and found a pretty navy / off-white chevron flannel that I purchased with some navy satin binding.
After I pre-washed and dried the chevron flannel, I cut it to match the size of the block-front of the quilt. I also cut the batting to size and began pinning the layers together.
(The blanket is folded over in the picture so that you can see both prints and the layer of batting.)
Next, I started getting the binding ready. I cut 4 pieces, slightly longer than each side of the quilt. Then I sewed a long and short piece together to create a corner. Remember those protractors you used in math class? Well, this is where you can use them in real life!
Pin the two pieces together (inside out) and place the center dot of the protractor at the edge and centered. Mark at 45 degrees on each half - this will create a perfect 90 degree corner. Sew along the lines and turn it right-side-out.
I did this for the opposite corner as well, so that I had two L-shapes. Then, I needed to stitch the layers of the quilt together to get the exact measurements to fit the binding onto, before sewing the other corners together.
I pinned the binding along the quilt edge and carefully measured each strip to cut off the excess; then repeated the steps for creating a perfect corner. The corner was just a little further away from the material than I wanted so I sewed it in a little tighter.
Once the corners were all stitched to fit and the binding was pinned in place, I sewed it on to complete the quilt.
Of course, I notice all the little mistakes and imperfections, but overall, I love how this baby quilt turned out!
This one is for the newest baby boy in my circle of friends. And I've already started a baby girl quilt, but so far no one is having a baby girl; wishful thinking...
The blanket's final measurements are 31 by 35.5 inches - perfect for a little baby bed.


No comments:
Post a Comment